Jewelry making- Step by Step Guide
Let's take you around our jewelry manufacturing process. Our step by step guide will help you get a closer look at what really happens. How are these stunning jewels created? What kind of machines are involved in the process? All of this and a lot more will be answered here. Let’s begin!
First thing's first! Create a stunning design.
3D model and 3D wax
Things begin when jewelry houses first cultivate a manual sketch of the piece to clarify the design in their and clients' heads. After the sketch is developed, the next step in the design process involves time to start work on the digital prototype. Using CAD (Computer Aided Design) software, the designer shall create a digital render of clients jewelry. Depending on the elaborateness and details of the project and how busy the room or artist is, this can take anywhere from a day to a week. The 3D model of the design is not created for aesthetics or looks but to enable mass production that means creating lots of pieces of the similar design.
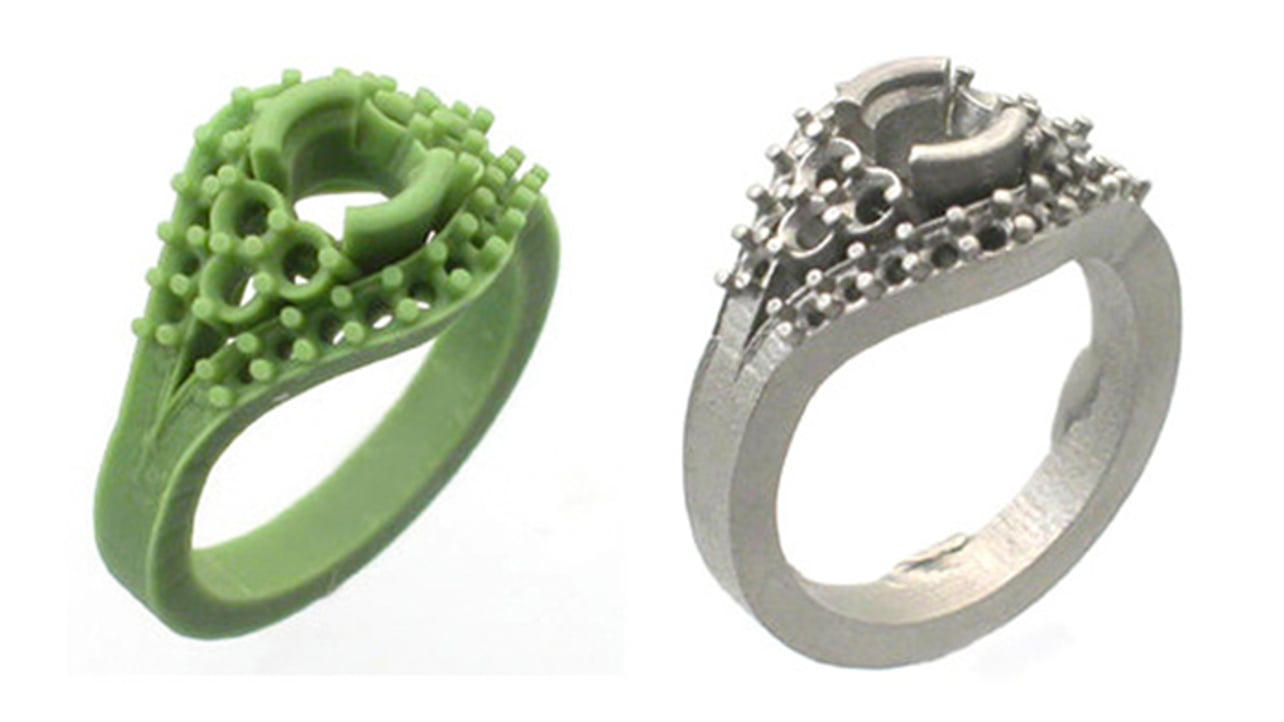
3D Wax Printing Your Jewelry
That 3D CAD model is primarily created to serve as a basis of creating the wax model. In most recent jewelry productions, the manufacturers use a 3D printing machine to print a wax model made out of resin, which on a regular basis doesn’t take more than 42 to 48 hours.
Then comes, Casting
In the next step, the jewelry needs to undergo a casting process. Most jewelry that is manufactured here begins with a wax structure or pattern. Manufacturers will take the wax pattern and use plaster to create an “invested” mold. Once the mold is prepared, jewelry makers will put the mold into the oven until the plaster hardens. 3. In the oven, all of the wax will melt out of the hollow cavity which is inside of the mold. By the completion of the next stage, the structure or pattern starts looking quite similar to what you see in a show window. The wax, here, is melted away and is replaced with the client's choice of metal in a molten form, usually these are the precious metals gold, silver, or platinum. The metal then hugs the shape, dries into the shape on your jewelry. You will then be able to reach in and pull out a piece of jewelry that is the exact replica as the initial wax pattern with which the manufacture had begun. This technique is called “lost wax” casting.

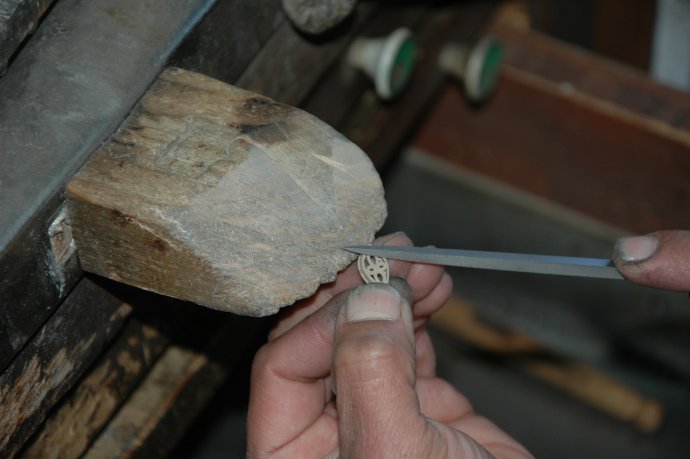
Time to assemble
After your jewelry passes through the design and casting stage, the final copy can take some few days to approximately 2 weeks, in most cases. At this point the jeweler refines the main structure of your ring, necklace or other piece. The jeweler files down the casting skin to reveal the metal underneath. Although casting transforms the jewelry into fine metal, the jeweler needs to make any aesthetic adjustments, as well as make sure the piece can functionally support gemstones.
After the mount is completed, the jewelry is prepared for stone setting. If the piece requires enameling work or distinct design, this would take place before setting.
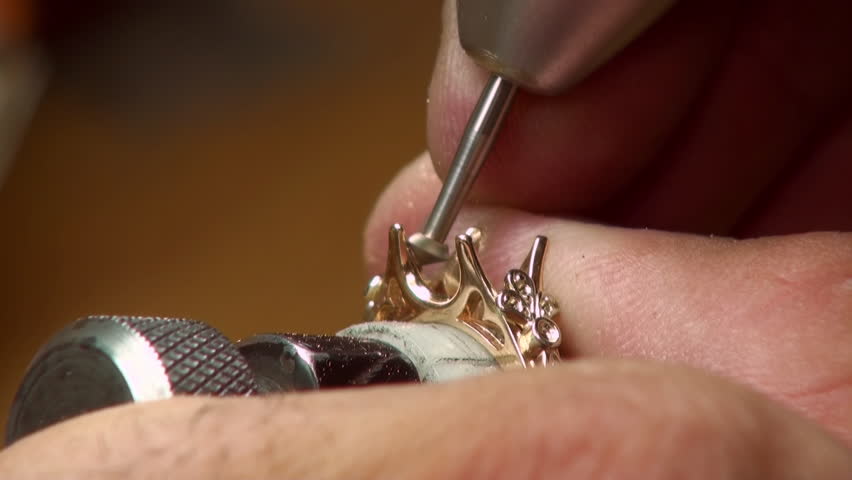
Setting the precious stones
For this step, the gemstone setter finally adds the diamonds or other gemstones onto the piece. He carefully sets the middle stone into the mount. If lateral stones are involved, the setter needs to hand drill for these before setting. With the help of a microscope, they then set each distinct stone.
Polishing, Finishing, and Quality Assurance! Lots to do
In the final stage, a polisher works to make sure the metal is polished to perfection so it’s as lustrous as possible. Any final improvements such as engravings are also applied. Finally, the jewelry is inspected and each detail is examined to make sure something winning is created.

